Find out what is the tolerance which we refurbishment our CORREA milling machines with and the main points to put it in geometry
At NC Service, "putting the machine in geometry" is one of the most important steps during our retrofitting process of second-hand CNC milling machines.

For such purpose, the deviations from perpendicularity between all milling machine’s axes are analysed and corrected to have tolerance values less than 0.02 mm. The straightness of movement in all the axes and the alignment of all its elements with respect to the ideal axis of operation are also checked.
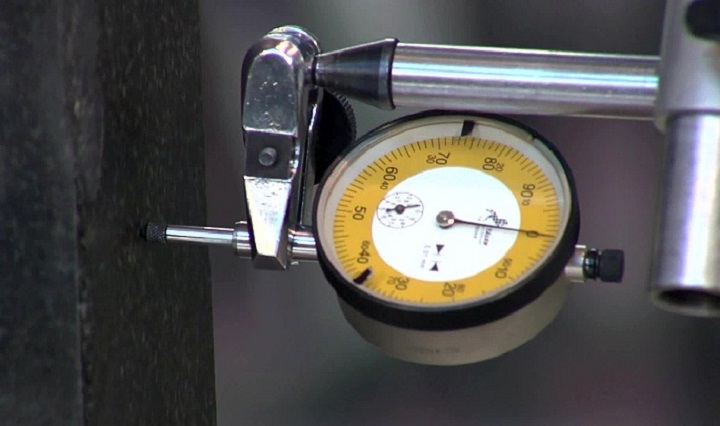
In the specific case of a bed type milling machine with friction guidance, a dial gauge with a contact point in the end that indicates the deviation of each element to analyse. After achieving the levelling of the bed, two axes are measured by anchoring the magnetic base of the dial gauge in the already aligned axis and the contact point on the rectified piece placed on the axis to be analysed. After the indicator is set to zero, one axis is moved and the magnitude of the error between both axes is checked by observing the movement of the indicator and its deviation from the zero position. When the axes are not perfectly aligned, we carry out a manual adjustment by scraper of the guiding elements and the tightening of the lateral wedges of each axis, carrying out this process repeatedly until the dial gauge indicates both axes are in geometry with a tolerance less than 0.02 mm.
This manual adjustment is fundamental in our machine refurbishment process, as it ensures that the geometry of a used milling machine after its refurbishment is in adequate levels of tolerance so that the customer can perform excellent and high-precision machining.
