Ballbar test: Three steps to check the accuracy of a CNC machine
Every time that a machine-tool could suffer a variation that may affect its machining conditions, its state and accuracy must be checked again. Therefore, at NC Service we always carry out same geometry and accuracy tests than when first being manufactured to all our second-hand milling machines after ending their refurbishment processes. By means of doing these tests, its excellent performance is demonstrated.

Ballbar is one of this testing, being essential to evaluate the efficiency, accuracy and geometric condition of a machine.
Ballbar testing in 3 simple steps
The following three basic steps will show you how ballbar test is done and how to read into the data it offers:
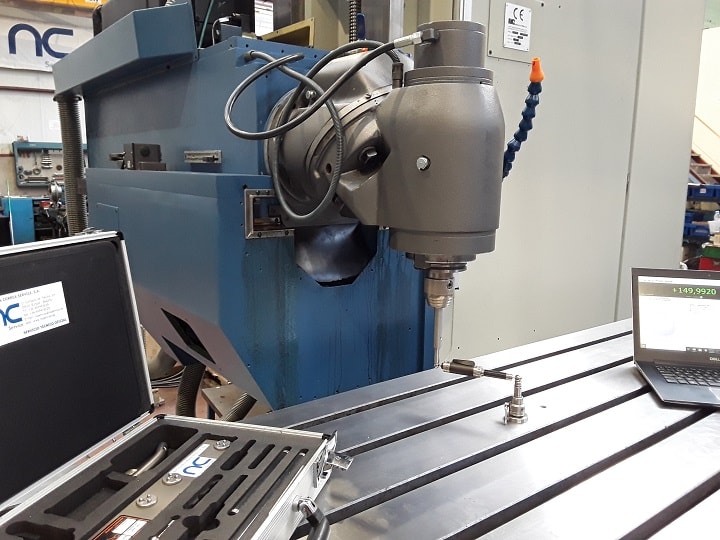
- Preparation: at NC Service, we use the Renishaw’s QC20-W Ballbar system shown in the picture (XY axes). This communicates with the PC by Bluetooth.
- Data capture: Ballbar test is performed on three planes, comparing axes two-by-two (XY axes; YZ axes and ZX axes). The machine performances two consecutive circumferences, moving the two axes being analysed on each occasion, one moving in the clockwise direction and the other in the opposite direction. This allows the comparison of these real circular routes with a perfect circumference. Afterwards, Renishaw´s Ballbar software analyses the measured data, displaying the results on the computer.
- Diagnostic: The plotting data will show a perfect circumference in a very accurate machine. However, a distorted circle compared to the ideal one will show errors and inaccuracies, whether in geometry, in numerical control or in wear in any of its elements.
This video shows Ballbar testing during the refurbishment process of a CORREA CF17D milling machine.
